 For my base, I found a men's XL T-shirt that was willing to be sacrificed...I mean, 'improved'. I straightened it out and folded it in half lengthwise. Then I did the same to the flounce top, which I layed on top of the men's T-shirt, aligning the center folds. Then, using my rotary cutter, I cut all around the outside of the top, leaving about a .5" seam allowance. I wasn't exact.
 I cut the neckline for the higher BACK neck, but drew on the front neck, to be cut later (single layer). I also marked where the tiers should go.
Then I put this new 'base' onto a doubled sheet of paper and cut it again, so I'd have a paper pattern. I used ONE of the copies to create the tiers...I cut it apart on the lines I had drawn. To add flare to the tiers, I just slashed each one in several places and spread them open as I layed them on the fabric...I didn't bother to insert paper into the openings, as this wasn't a top I planned to make more than once.
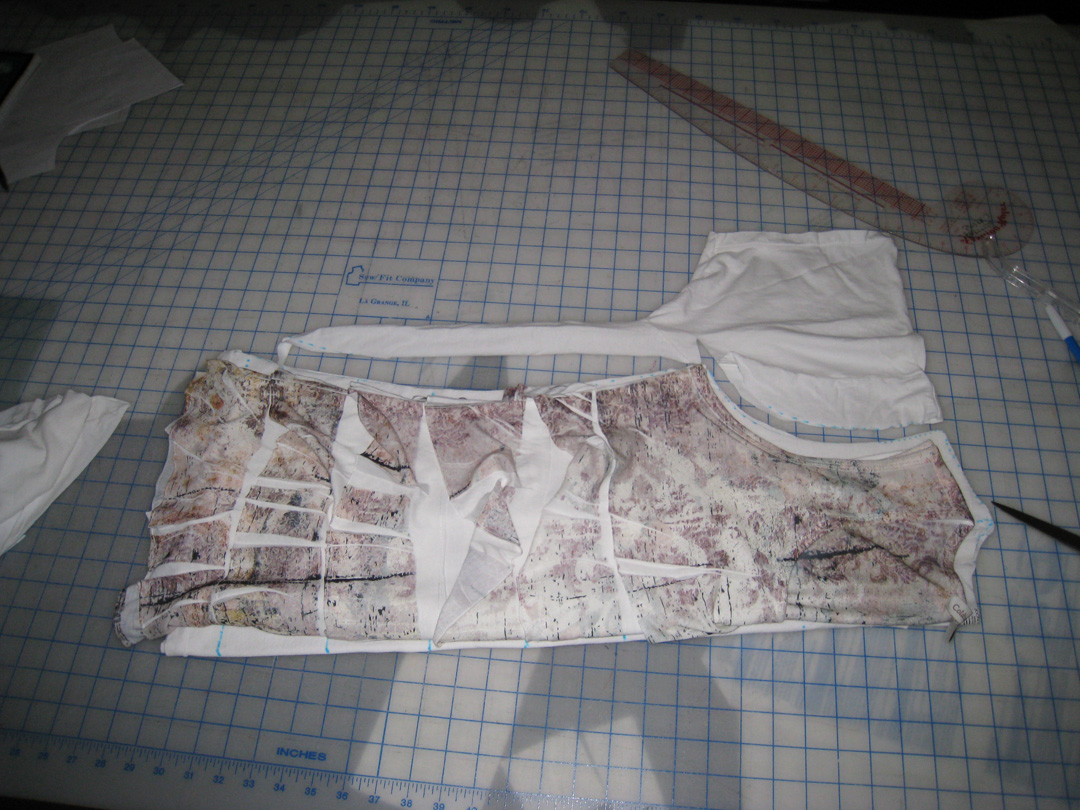
 Here you can see where I have spread the top tier...the one that includes the neck and shoulders. I was really just guessing at how much I should add...I wasn't even sure the original was flared! But this one would be.
Before I started cutting fabric, I suspected that I wouldn't have enought fabric...actually, I KNEW I wouldn't have enough! But I cut anyway...as if cutting would somehow create MORE fabric!
duh...
Sure enough, there was not enough fabric to cut all the tiers.
I went back to the store where I'd bought the fabric originally, but it had been many months and I didn't hold out much hope.
They didn't have any more.
But they did have this black and white spotty print and it was kinda neat so I got some of that to mix in.
I used my serger to put a lettuce-edge on the tiers, and used my coverstitch machine to attach them to the base fabric. Once all the tiers were added to the front and all the tiers were added to the back, I sewed the front and back together.
The neck and armhole edges were turned and coverstitched. I did trim away the base fabric in the neck and armholes so it wouldn't get too thick there.
Taking pictures of this top has been a trial! I have tried several times, and have yet to get any good ones! Sigh. I'll just share these...


2 comments:
Love it! And the extra spotty fabric is perfect. Thanks for sharing how you created this.
And you look FABULOUS in that top.
Cosmo...mmmmmmm......
Post a Comment