 Today DH and I played tourist. We drove down to the river, which is about 20 miles from our home, and walked beside the submerged Mississippi River Greenbelt Park on Mud Island. The water actually crested on Tuesday morning (3 days ago) and has dropped about a foot since then. But it is still about 13 feet ABOVE flood stage!
There is a road that runs north and south on the island. The city of Memphis dumped/piled sand and gravel on the two lanes on the river side of this road, just in case the water rose enough to cover the road. The northern end of this road has been underwater for about a week, so presently, this southern end is the only access on and off the island, where many people live.
Above, I am standing on the driveway to one of the parking areas, which is submerged behind me.
Below, water, water everywhere!
 Looking north along the ridge, you can see the driftwood that was deposited in previous days when the water was higher. Amazing how much stuff there is floating in that water!
 The trees in the distance that are sticking up out of the water are pretty close to where the usual river bank is. Beyond that is the actual river channel.
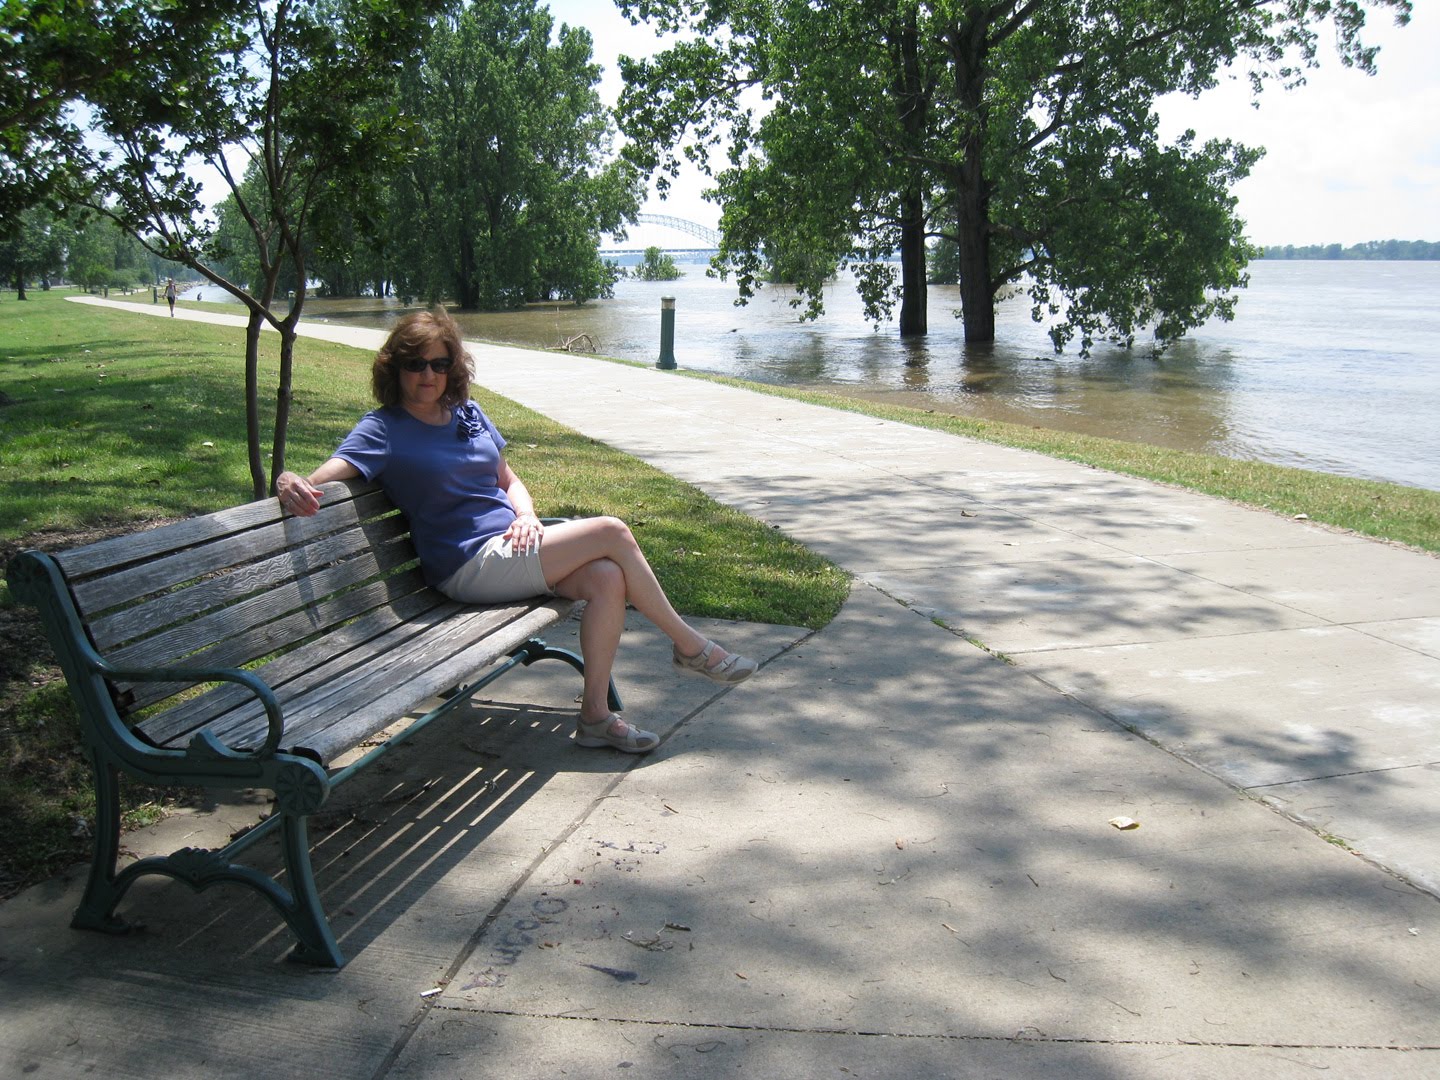 The knit top I am wearing in these pictures is one that was recently made using my new drafting softward (Pattern Master Knits by Wild Ginger). I'll tell you more about this one as well as a couple of other tops in my next post.
 Just trying to give a bit of perspective, but these pictures don't do any kind of justice to the magnitude of the flood. This water is lapping at the bank like the ocean on the beach! Farther toward the bridge (background), there were white caps!
 We drove around to the Harbor side of the island to see how things looked. Above you can see the harbor between the island and the city of Memphis, as well as the bridge that provides access to Mud Island. The Pyramid is just on the other side of this bridge. Of course, with no knowledge of what this SHOULD look like, you probably don't appreciate how high this water is. But a few days ago, this parking lot was also flooded.
 Here, you can see the debris on the side of the house, marking a previous water line from when the water crested. Normally, this home on the harbor side of the island is a bit farther from the water than it currently is!
 These condos on the opposite side of the parking lot have placed a wall of sandbags all along the garages in an attempt to keep the homes dry. I hope it worked!
We enjoyed our walk, followed by lunch at Tugs, a restaurant in the Harbor Town area, also on the island.
 I recycled a NIKE paper bag to use for the gift wrap, using bits of tissue paper and fabric to cover (somewhat) the Nike symbol in the lower corner. I wrapped the handle with fabric and added wooden beads to the ends.


